
Your drum pad practice is clean. The sticking is comfortable, the doubles behave, and you can move the metronome up without everything falling apart. Then you sit at the kit, try to use the same pattern in a song, and suddenly your hands seem to have changed departments.
That gap deserves its own practice time. You have learned the sticking. Now give it a job.
Quick answer: To move pad work onto the drum kit, keep a familiar sticking and change one demand at a time: give certain notes an accent, assign the hands to different surfaces, add a deliberate foot pattern, then practice entering and leaving a fill. Judge the result by the groove you return to, as well as the fill.
Why drum pad practice can stall at the kit
On a pad, you can concentrate on the order and spacing of your strokes. At the kit, that pattern also has to work across different playing surfaces, with your feet involved and a musical phrase to keep track of.
Orchestration simply means choosing which parts of the kit play the notes. A sticking tells you which hand plays next; it does not decide whether that note belongs on a closed hi-hat, snare or tom.
Start with a pattern you can play comfortably. Keep the sticking while you change its sound and musical purpose, so you can hear each change.
The exercises below use a single paradiddle: R L R R L R L L. R means right hand; L means left. Play one stroke per letter: right, left, right, right, then left, right, left, left. Repeat without pausing between groups.
We will use straight sixteenth notes in 4/4: four evenly spaced strokes per beat, counted “1 e & a, 2 e & a,” and so on. These examples assume a right-hand lead with the hi-hat played by the right hand.
Exercise 1: Make the backbeat stand out on the pad
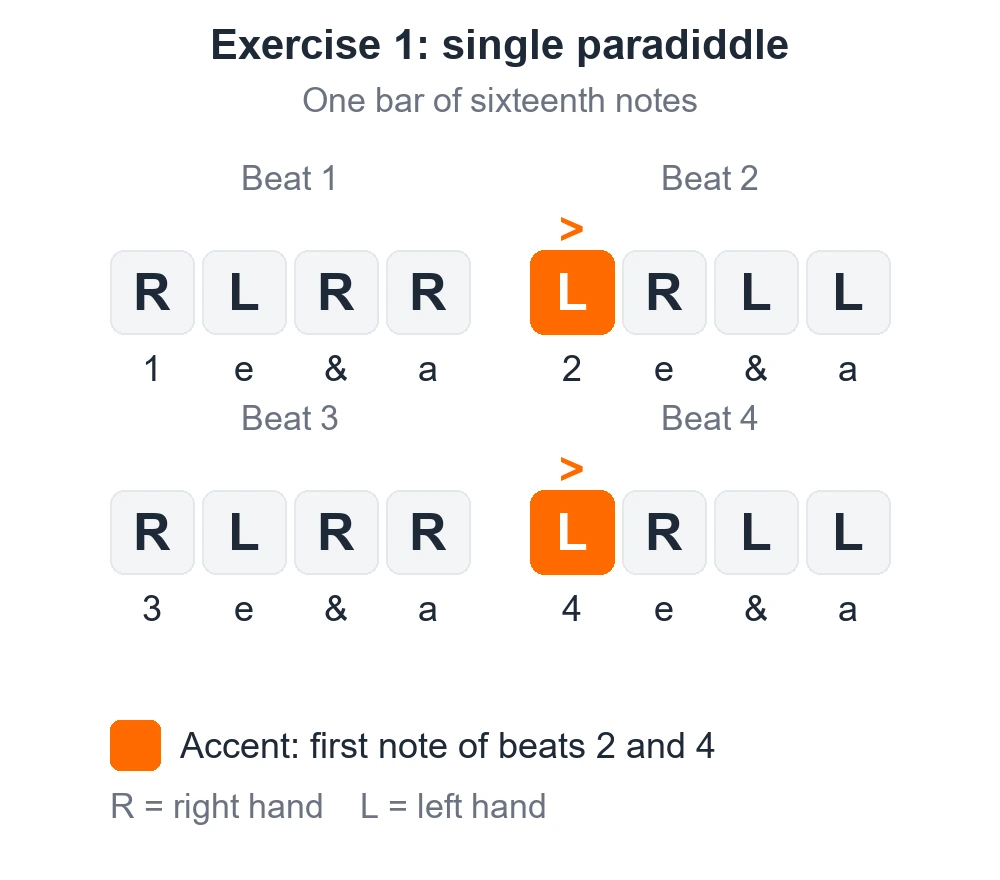
Play the paradiddle twice to fill one bar. Accent the first note of beats 2 and 4. Keep the remaining notes noticeably quieter.
| Beat | Count | Sticking | Accent |
|---|---|---|---|
| 1 | 1 e & a | R L R R | None |
| 2 | 2 e & a | L R L L | First L, on 2 |
| 3 | 3 e & a | R L R R | None |
| 4 | 4 e & a | L R L L | First L, on 4 |
Choose a metronome setting slow enough to hear the space between notes. There is no required starting speed.
Listen to what happens immediately after each accent. Does the next stroke come out louder than intended? Does the last pair of left-hand notes squeeze together as you prepare to restart?
Keep that awkward spot at the same tempo until you can hear the difference you want. Turning the metronome up would give you another problem to manage.
This version places accents on 2 and 4 to prepare the groove in the next exercise. It is an application of the sticking, not a rule for every paradiddle.
Exercise 2: Split the same pattern between hi-hat and snare
Move to the kit:
- Play every R on the closed hi-hat.
- Play every L on the snare.
- Keep the snare accents on 2 and 4.
Nothing about the order of your hands changes. You are changing where the notes land.
The quieter snare notes between the accents are often called ghost notes. Aim for a clear difference between those and the backbeats. You should be able to hear 2 and 4 without watching your hands.
Before moving on, play the pattern with both hands on the snare, then split it between snare and hi-hat again. Notice where the movement or sound becomes less controlled. That is a specific problem you can work on.
Once you can keep the snare accents clear while the right hand plays the hi-hat, the pattern has the beginnings of a groove. The next challenge is keeping that sound intact when your foot joins in.
For this exercise, leave the kick out until the hand part feels settled.
Exercise 3: Give the kick its own part
Keep the hands exactly as they were. Add the bass drum on 1 and 3.
Once that is comfortable, try this variation:
Kick on 1, the & of 2, and 3.
The kick on the & of 2 coincides with a left-hand snare note in our pattern. Listen for those two sounds landing together. If they separate, isolate beat 2 before putting the whole bar back together.
Also listen to the snare note itself. Does adding the kick make that quiet note suddenly become an accent? Try to preserve the hand dynamics while the foot joins in.
For a separate coordination variation, return both hands to the snare, leave the kick out, and add hi-hat-foot closures on 2 and 4. Then try adding the kick on 1 and 3. You do not have to add every available limb to prove the exercise is working.
Exercise 4: Build a fill with an exit
Now give the pattern a place in a phrase.
- Play three bars of a comfortable groove.
- In bar four, keep the groove through beats 1 and 2.
- On beat 3, play R L R R on the snare as sixteenth notes.
- On beat 4, play L R L L on a rack tom.
- Return to your groove on the next 1, with the kick.
That is a two-beat fill using the same sticking. Initially, use the snare for the whole fill if moving to the tom makes the timing uncertain.
Keep listening after the fill ends. Did the return arrive with the click? Did your groove come back at the same volume and feel? Or did you land on 1 and spend the next beat figuring out where your hands belonged?
Repeat the entire phrase. Practicing only the fill leaves out the entrance and exit, which are exactly what this exercise is meant to address.
Then try a simpler fill in the same space. Compare the recordings and decide which one supports the phrase better.
Use a short recording to find the weak link
Record a few repetitions and listen back without playing. A separate listening pass lets you concentrate on the result without having to play at the same time.
Check one thing per playback:
- Spacing: Are the doubles as evenly placed as the single strokes?
- Balance: Can you hear the backbeat clearly above the quieter snare notes?
- Coordination: Do the intended hand-and-foot combinations land together?
- Transitions: Does the groove stay settled through the fill and return?
You do not need a polished recording to make a useful comparison. If the sound is badly distorted, change the recording position or settings before judging dynamics.
Choose the clearest problem and simplify that part for your next attempt. There is no prize for keeping all the moving pieces switched on.
Does a different pad solve the problem?
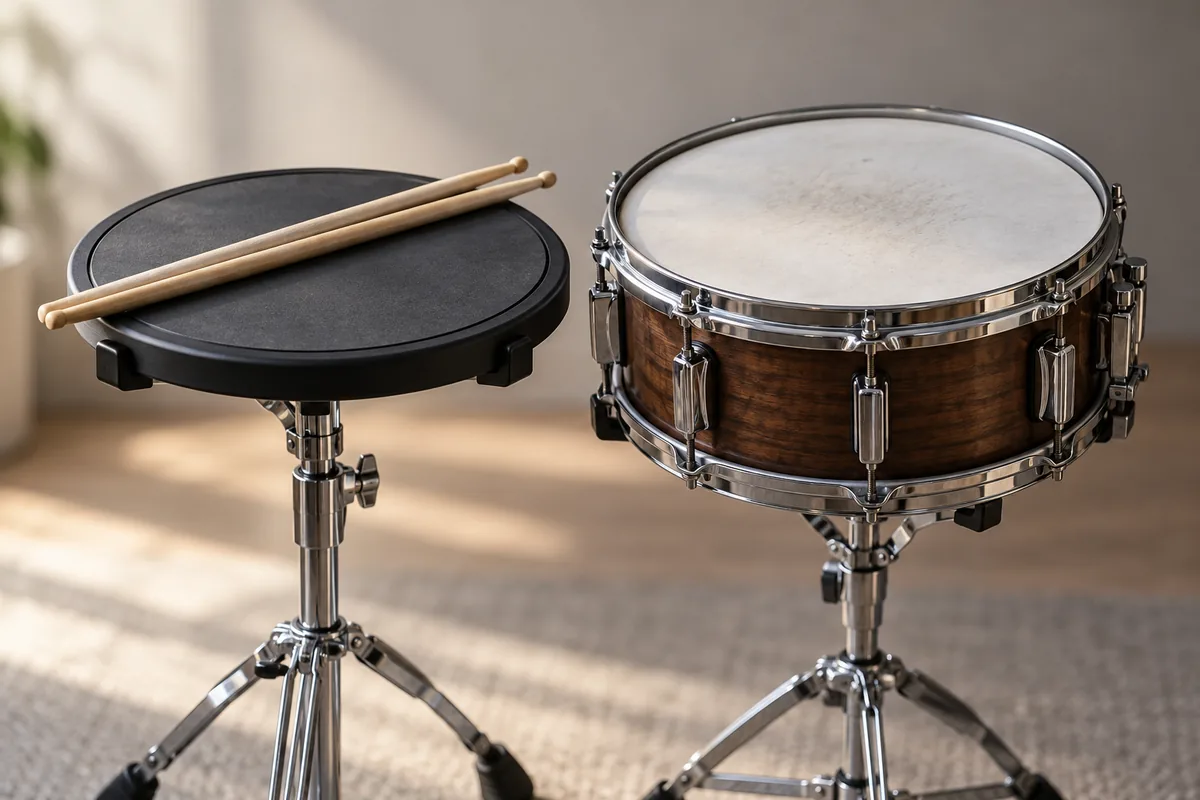
A double sided drum pad gives you two playing surfaces to work with. Depending on the pad, the sides can differ in feel and response. That can be useful for comparing how you control the same sticking on each side.
That gives you another practice option, but the transfer work still needs attention. Before replacing equipment, try the sticking on your pad, your snare and a tom. Identify what changes in your playing.
Our practice pads and education tools are there when you need them. You can do the exercises above with the sticks and playable kit you already have.
Questions drummers ask about moving pad work to the kit
Should I learn every rudiment before applying them?
Start applying one that you can already play comfortably. You can keep expanding your vocabulary while learning how to use it.
Why can I play a pattern faster on the pad?
Check what changes at the kit: the surface, the reach, your dynamics or the added foot part. Remove one demand at a time to find where control starts slipping.
Can I work on this without access to a kit?
You can practice the sticking, accents and counting on a pad. For the exercises involving different sounds and pedals, arrange some time at a kit through your teacher or rehearsal space.
How much practice time should this take?
Use a focused block that fits your schedule. Our post on short, regular practice sessions covers making that time manageable. Here, choose one stage and a specific thing to listen for.
Take one familiar pattern to your next session. Give it a sound, put it inside a phrase, and listen to the groove that follows. If you want help finding a teacher to work through the transition, start with our music teacher directory.